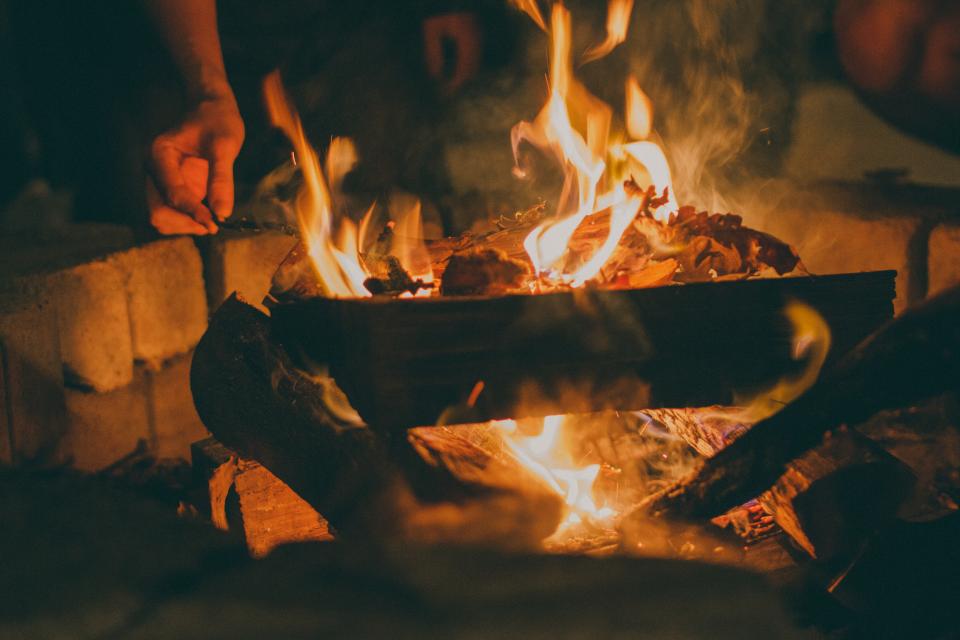
The Center of an Outdoor Evening
A well-built fire pit changes how a cabin property gets used. It pulls people off the porch and out into the yard, extends the season on both ends, and gives an evening a natural center of gravity. It is also the single most likely thing on your land to start a wildfire, send someone to a burn unit, or generate a visit from a very unhappy fire warden.
Both facts are true at once, and they are not in tension. A fire pit built with attention to siting, construction, and habit is safe enough to use casually for decades. This is how to build one in wooded mountain country, and how to cook on it without ruining a good evening.
Start With the Rules, Not the Shovel
Before choosing a spot, find out what is allowed. This varies enormously and changes with conditions.
- Check county and state regulations. Many Appalachian counties restrict open burning by season or by time of day, particularly during spring and fall fire seasons when leaf litter is dry and winds are up. Some require a permit for anything larger than a small recreational fire.
- Watch for burn bans. State forestry agencies issue temporary bans during drought. These are legally binding, and violating one during a dry spell is how a homeowner ends up liable for suppression costs.
- Read your own paperwork. Homeowner insurance, subdivision covenants, and lease agreements often specify distances from structures or prohibit certain fire types outright.
- Confirm setbacks before digging. A common rule of thumb is at least twenty-five feet from any structure, property line, or fuel storage, but local codes may demand more. Call before you dig for buried utilities as well.
Siting It Where It Will Not Cause Trouble
Location does more for safety than any amount of construction. On a wooded slope, three factors dominate: overhead cover, ground fuel, and wind.
Look Up First
Nothing flammable should be above the pit. That means no overhanging branches, no low canopy, no porch roof, no power lines, and no dead limbs hanging in the crown of a nearby tree. Hemlock and pine are particularly bad neighbors because their foliage carries fire readily and their dropped needles form a continuous fuel bed. Sparks from a hardwood fire regularly rise fifteen or twenty feet.
Then Look Down
Clear a wide margin of bare mineral soil, gravel, or stone around the pit — ten feet is a reasonable working minimum on level ground, and more on a slope, because embers roll downhill. Leaf litter and duff in Appalachian woods can carry a smoldering fire underground for days before it surfaces somewhere unexpected. Never build a pit directly on top of deep duff or on tree roots.
Account for Slope and Wind
Fire moves uphill fast. Position the pit so the prevailing evening wind carries sparks toward open ground rather than into the woods or at the cabin. On a hillside, a cut-and-fill level pad is safer than a pit perched on a slope where anything that escapes has gravity on its side.
Building the Pit Itself
The simplest good fire pit is a shallow excavation ringed with stone, and there is very little to improve on it. What matters is that it contains fuel, contains embers, and does not explode.
- Dig down six to twelve inches. Sinking the fire below grade blocks wind at ground level, keeps coals contained, and makes the whole thing calmer to sit around.
- Line the base with gravel or sand. A few inches of coarse material improves drainage so the pit does not become a mud hole, and it protects the soil beneath.
- Never use river rock or creek stones. Water-saturated rounded stones can trap moisture, and when heated rapidly, that moisture turns to steam and can fracture the stone violently. Use dry, porous field stone, dense granite, or purpose-made fire brick.
- Keep the ring low and open. Roughly twelve to eighteen inches of wall gives spark containment without smothering airflow or blocking the heat you actually want reaching your chair.
- Size it modestly. A three-foot interior diameter is plenty for a family. Bigger pits invite bigger fires, and bigger fires are exactly where the risk lives.
- Add a spark screen. A simple mesh dome is the cheapest safety upgrade available, and it matters most on breezy nights and in dry seasons.
Metal ring inserts are worth considering. They contain the fire cleanly, protect surrounding stone, and are easy to replace when they eventually burn out.
Fuel: What Belongs in the Fire and What Does Not
Wood choice affects smoke, heat, and how pleasant the whole evening is, and the wrong material can be genuinely hazardous.
- Burn seasoned hardwood. Oak, hickory, maple, and ash dried for a year or more give steady heat with little smoke. Green wood smolders, smokes heavily, and makes a miserable fire.
- Use softwood for kindling only. Pine and hemlock light easily and throw a lot of sparks. They are excellent for starting and poor for sustaining.
- Buy or cut local firewood. Moving firewood spreads destructive forest pests. Many states have restrictions on transporting untreated wood across county or state lines for exactly this reason.
- Never burn treated or painted lumber. Pressure-treated wood, plywood, pallets, and painted trim release genuinely toxic compounds. This is not a matter of taste.
- No trash, no plastic, no accelerants. Gasoline and lighter fluid produce explosive vapor and unpredictable flare-ups. If a fire needs an accelerant, it needs better kindling instead.
- Keep the wood pile upwind and back. Ten feet away is a reasonable minimum, and it keeps a stray ember from lighting your whole supply.
Cooking on It Properly
The single biggest shift for people used to a gas grill is this: you cook on coals, not on flames. Flames deposit soot, scorch the outside, and give wildly uneven heat. A bed of glowing coals with a light ash coating is steady, predictable, and far hotter than it looks.
Build the Fire Early
Plan on forty-five minutes to an hour between lighting and cooking. Burn the fire down deliberately, and if you want sustained cooking heat, keep a small feeder fire at one side of the pit from which you rake fresh coals under the cooking area as needed.
Equipment That Earns Its Keep
- An adjustable grate. Height control over the coals is the only heat dial you have. A tripod with a chain or a swing-arm grate is worth far more than a fancy grill surface.
- Cast iron and heavy steel. Thin pans warp and burn food over coals. A Dutch oven, a heavy skillet, and a pair of long tongs cover nearly everything.
- Long tools and heavy gloves. Welding gloves and eighteen-inch tongs keep your hands out of radiant heat that will blister skin faster than you expect.
- A meat thermometer. Outdoor cooking is uneven by nature, and appearance is not a reliable indicator of doneness. This is a food-safety tool, not a luxury.
Food Safety in the Yard
The usual rules apply and are easier to forget outdoors: keep raw meat cold and separate, never reuse the plate that carried it raw, cook to proper internal temperatures rather than by color, and get leftovers back to the refrigerator promptly. In warm weather, food should not sit out for more than a couple of hours, and less on a hot day. At a cabin, add wildlife to the equation — scraps and grease left near the pit will attract raccoons and, in some parts of these mountains, bears.
Habits That Keep It Safe
- Have water and a shovel at the pit. Every time. A charged hose, a full bucket, and a shovel for throwing dirt are the minimum, and they belong within arm’s reach before the match is struck.
- Never leave it unattended. Not for a quick trip inside, not while the last of it burns down. Fires that escape almost always do so while nobody is watching.
- Keep it small. Waist-high flames are a bonfire, not a fire pit. A modest fire is warmer at the seat because you can sit closer to it.
- Watch the conditions. Low humidity, gusty winds, and a dry leaf layer are the combination that turns a normal fire into an incident. On those nights, skip it.
- Brief the kids. A no-running perimeter, a rule against throwing anything into the fire, and seats placed well back go further than constant supervision.
- Check for the burn ban before every fire, not every season. Conditions change week to week.
Putting It Out Completely
The most dangerous moment is the one everyone treats casually. A fire that looks dead can hold live coals for many hours, and in duff-rich mountain soil it can creep sideways and resurface later.
The standard method is drown, stir, drown, and feel. Pour water on generously until the hissing stops. Stir the ashes with a shovel to expose the buried coals, and pour again. Turn over the unburned ends of logs and wet them too. Then hold the back of your hand a few inches above the ashes: if you feel any heat at all, it is not out. If water is scarce, mixing dirt thoroughly into the coals works, but it takes more stirring and more patience.
What a Good Pit Gives Back
Done properly, none of this is burdensome. The gravel margin gets raked once a season, the ash gets shoveled out when it builds past a few inches, the grate gets scrubbed while it is still warm, and the whole routine of building, cooking, and drowning becomes muscle memory within a summer.
What you get in return is the best room on the property. On a clear October night in the mountains, with coals throwing heat, something cast iron coming off the grate, and the woods dark past the edge of the light, a fire pit does something no appliance manages. It is worth building right.